Monday, 9 September 2013

Week 6

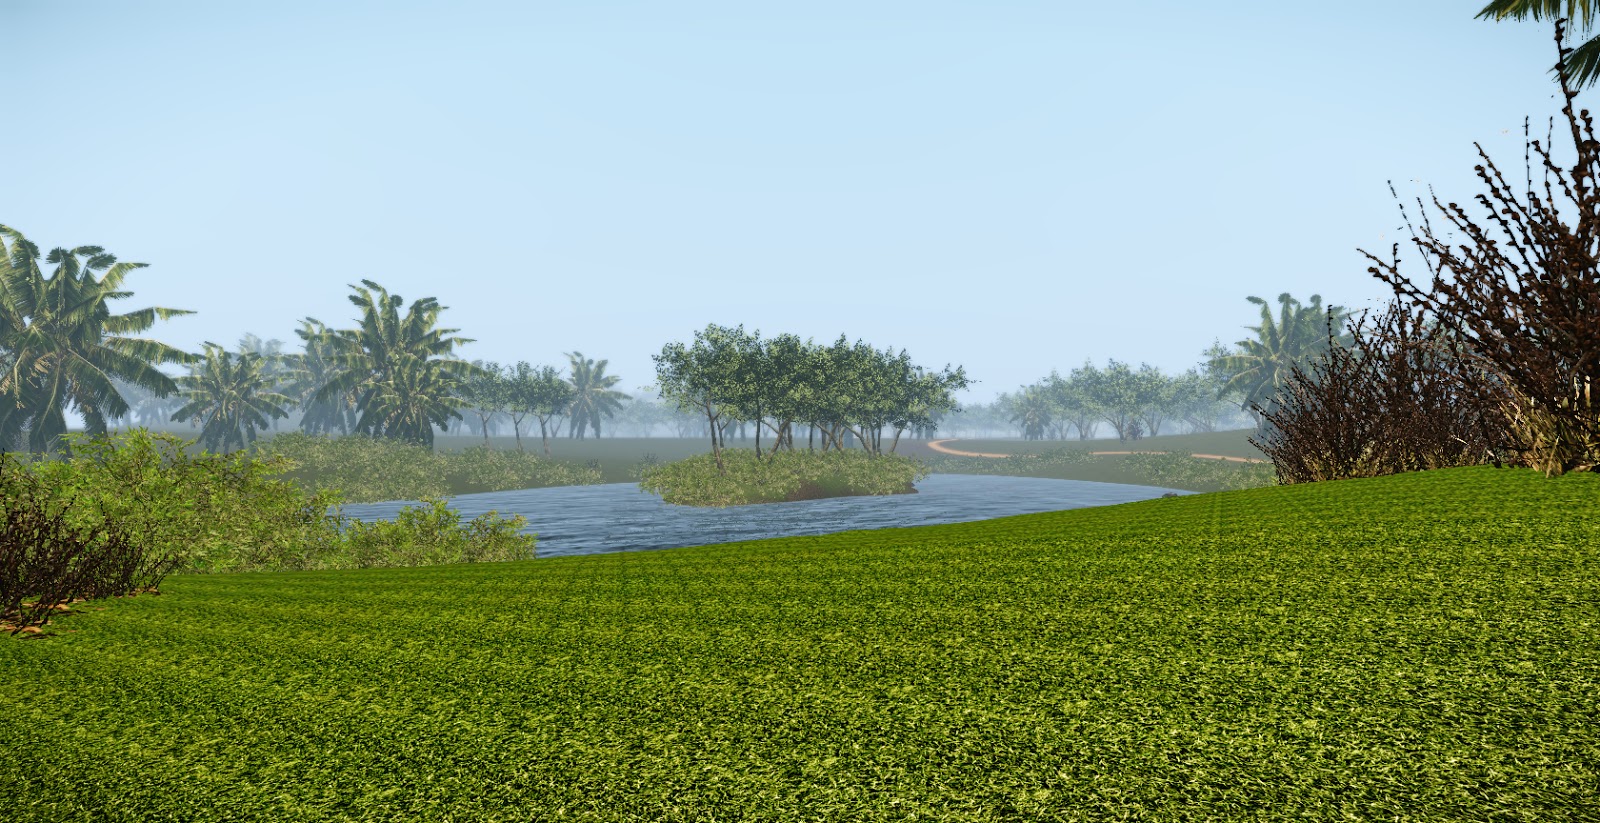
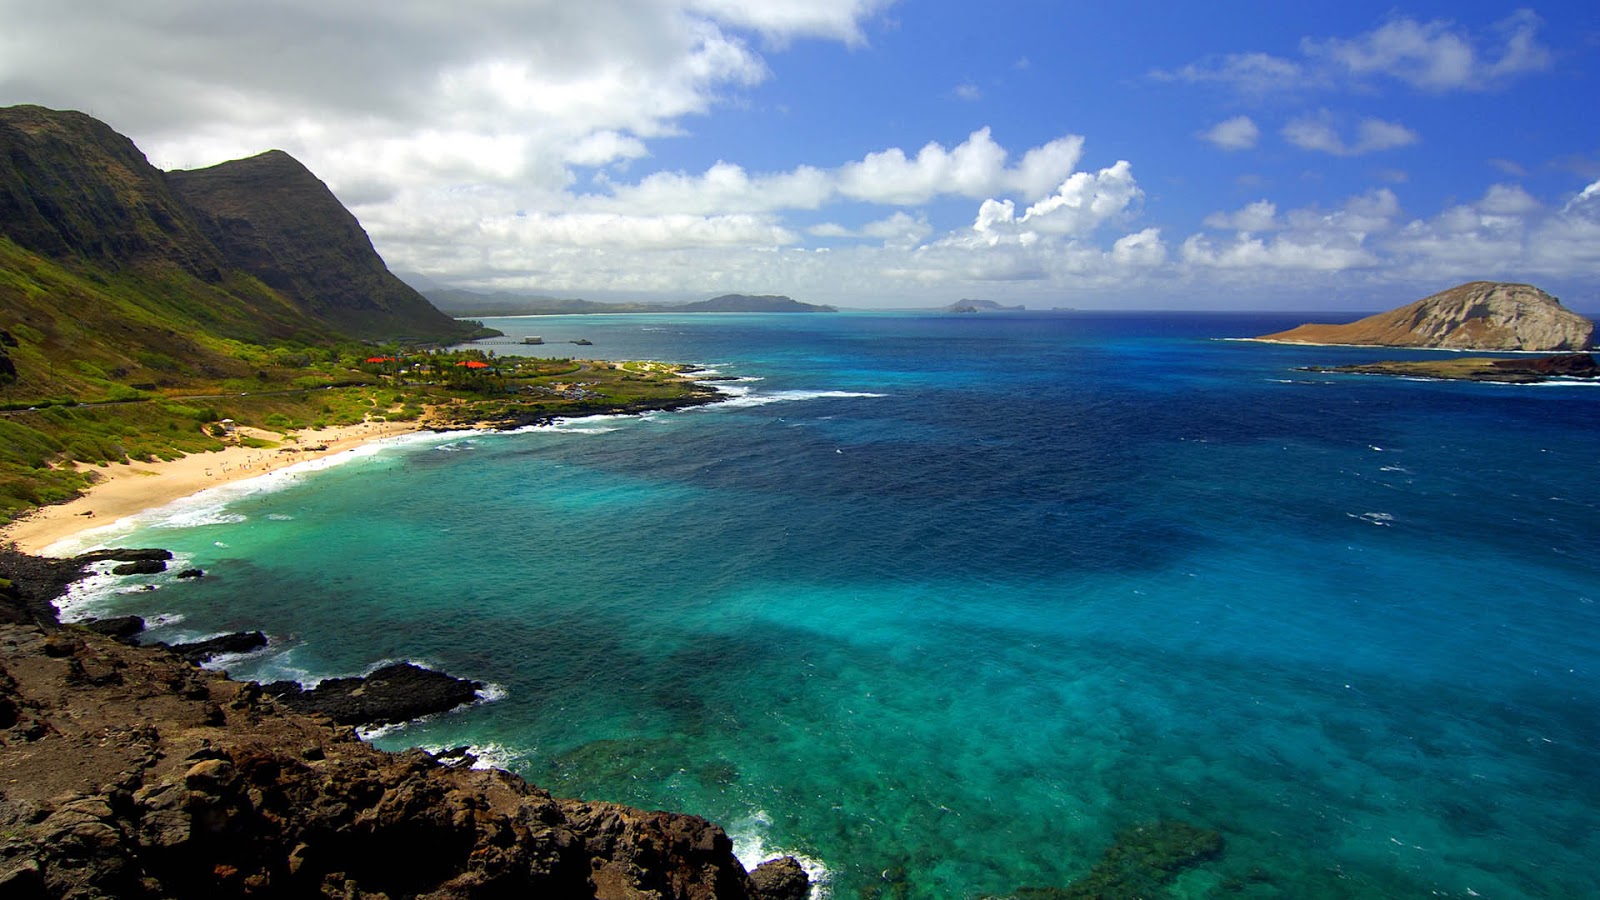
As part of this week's tasks, we had to review the work of our fellow students. I have attached screen captures of the students that I reviewed.


This week's lecture was about movement which conveyed examples of movements which have inspired me to try and incorporate some of the features in those examples shown within my cryengine scene. The lecture was also helpful in showing how to work with flow graphs to achieve our strategy plan.

Monday, 2 September 2013

Draft Submission

As part of our experiment 1 submission, we were required to put together a draft of the outcomes for this first experiment.

Strategy Statement: 


The challenge with this brief is not how hard it is to conceal the letter and number which in my case is a combination of “H9” but the challenge is to actually stay creative and explore unique ways to incorporate the letter and number into the created environment to create a satisfactory experience for the user and allow them to be challenged into finding the 5 various scales of this letter / number combination throughout the island. I will try and use various techniques, elements and effects on various scales to ensure that I best conceal my letter and number combination and ensuring that I adhere to a unique approach.

5 Images of Cryengine environment:

This image above shows the whole island.
Macro - The largest combination of letter and number that I incorporated into my island is quite unique in my personal opinion. My idea behind this combination is incorporating a sand island within my main island that disappears during the night as the water level rises and reappears during the early hours of the morning and throughout the day revealing an imprint in the sand conveying the letter and number “H9” as the water level drops
My second combination is made up of fallen tree logs that lay on top of each other forming the letter “H” in a natural way and 9 big rocks that are placed randomly near the fallen logs. Upon looking at this combination from a distance, once can only identify this combination as natural elements that have formed over a given period of time blocking a path but upon close interaction and focus one can then identity this combination involved that convey the letter “H” and number “9”.

With my third combination I tried to seek a different approach to concealing my letter and number combination. I highlighted a specific section within my island and linked it to a sound file that would play and say “H9” every time the player is within that specific area. I believe that the use of sound to conceal these elements is rather unique. 
My fourth concealment of the letter and number combination allowed me to use a decal to convey the letter “H” as white paint on an old demolished building and represented the number “9” buy placing 9 lamps randomly around the same area to illuminate light for the letter “H”.
Micro - this is a plinth located on the island that displays the letter "H" and the numbers 4,3,1,1 which equal to "9" when added together.
My final step for this experiment is to keep adding details to my environment and ensure that I thoroughly cover the assessment outputs. I must also develop a trailer that would successfully convey my island in a distinctive and significant way as part of my final submission.

This week's lecture was really useful in presenting excellent examples of the concealment of subliminal messages and products within ads, movies and other means of representation. The content in this week's lecture have inspired me to ensure that I maintain a unique approach when concealing my letter and number combination.  

Monday, 26 August 2013

Week 4

The first step of this week's tasks is to select and upload an image from week 4 lecture to my blog. I decided to choose a painting done by Gerhard Richter.


The next part was to replicate the mood in the chosen image on my own created island. I unfortunately was not able to start my island in cryengine so opted to creating a new island for this week's exercises. My results can be seen below.
Before
After
My screenshot of my current settings.
Time of day settings
Cloudy Sky
Settings for image above
Blue sky with some clouds
Settings for image above
Late afternoon cloudy day

Add caption
Settings for image above
Evening sky

Settings for image above

This week's lecture contained examples of environments both man made and those developed naturally over centuries. I believe that the main focus of this week's lecture was to actually inspire us to use reference images of naturally developed landscapes as inspiration to use in our own environment rather than using man made landscapes such as the palm island located in Dubai as our reference. I was also inspired by some of the works that various artists have produced. 


Monday, 19 August 2013

Week 3

The first task of this week's studies was to find 4 reference images of works created by a list of landscape architects / architects given to us in the lecture. I decided to select 1 image from each of the architects.

The next step was to recreate similar scenes for each of these reference images in different areas of throughout my island keeping in mind that I has to use the brushes and objects found in cryengine to help me in recreating the features found in these reference images.

Capability Brown (a)
flickriver, http://www.flickriver.com/groups/gardensparks/pool/interesting/
Humphrey Repton (b)
Wikimedia, http://commons.wikimedia.org/wiki/File:Humphry_Repton01.jpg
Claude Lorrain (c)
reframing photography, http://www.reframingphotography.com/content/claude-lorrain
William Gilpin (d)
Tate,
http://www.tate.org.uk/art/artworks/gilpin-mountains-and-lakes-t09541

(a)
(b)
(c)
(d)
I decided to use the reference images as inspiration rather than blueprints to replicate the same landscape shown in the reference images. By doing so, I was able to recreate realistic landscapes with my own personal touch.

The task that followed was to select a 5th reference image and implement the landscape shown in a section of my environment. I decided to choose a reference image of a lion's forest as shown below to replicate in my environment using cryengine. The results can be viewed below.

Outdoorphoto, http://www.outdoorphoto.co.za/gallery/showphoto.php?photo=259950

The next part of this week's tasks was to create a short clip showing my environment which I have been modifying and detailing for my first experiment. 


This week's lecture was about the topic of picturesque showing examples of the work produced by a few landscape architects and designers. Each of the work that was shown in this lecture was inspiring in terms of its context, form and especially the setting. Each of the landscapes shown were correctly set with relation to surrounding objects and elements. All in all this lecture has inspired me in the work that I produced as part of this week's exercises. 

Monday, 12 August 2013

Week 2

As part of this week's exercises we were instructed to find 5 images of different landscapes and to list the characteristics of the vegetation, terrain, lighting for each chosen landscape. The terrains that I have chosen have been placed below.
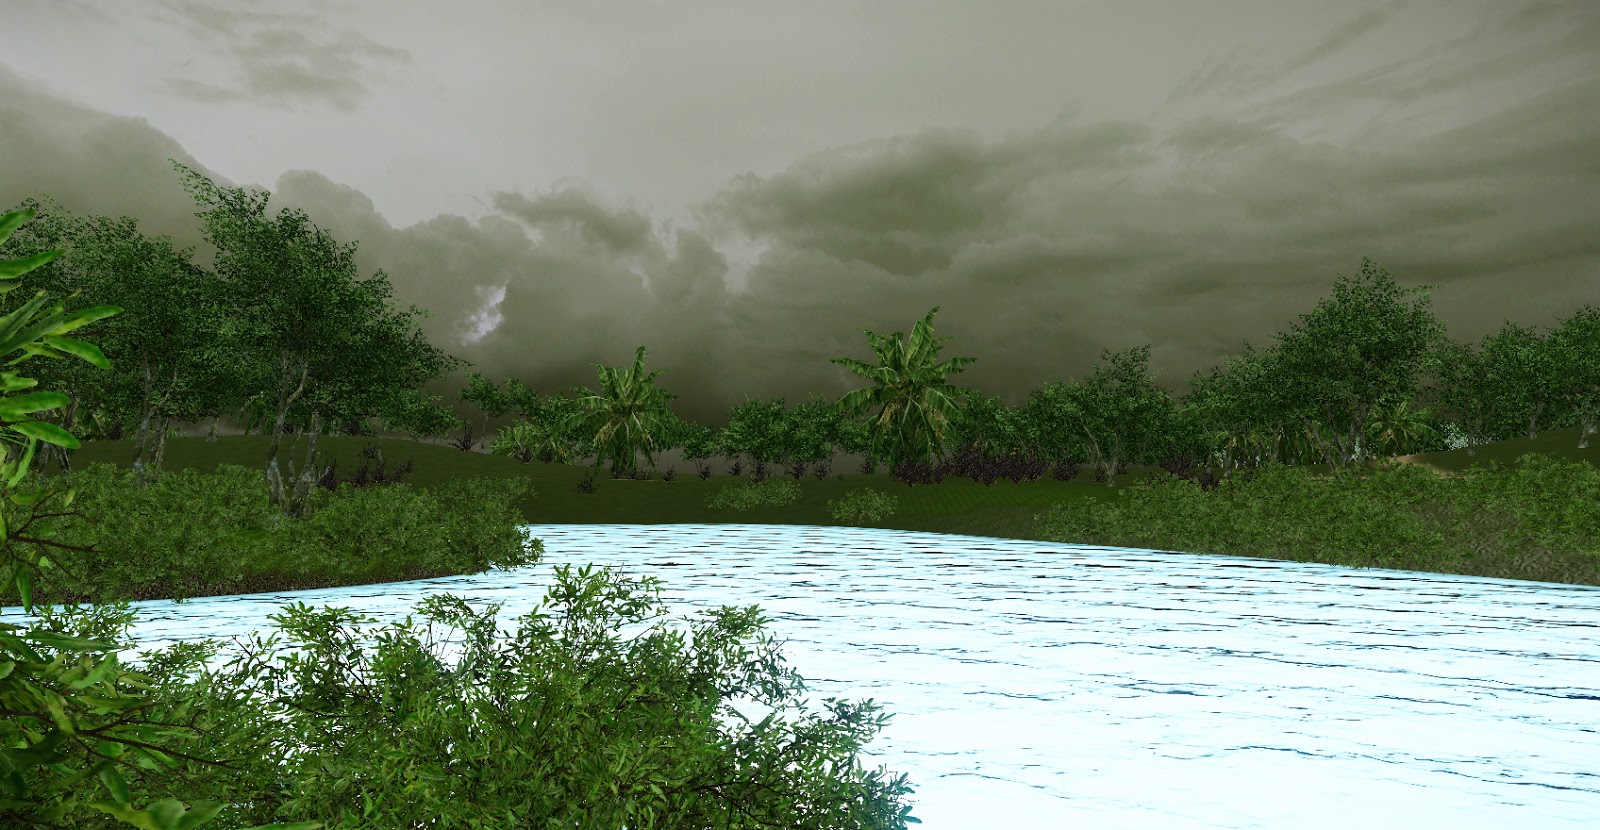
This particular image is of a coastal landscape that is made up of crystal clear water and harsh rocky terrains as well as patches of greenery and vegetation. The lighting in this particular landscape pierces through the water thus conveying sections of the vegetation beneath the water levels.

A.Stroyd Photography, http://astroydphotography.com/landscapes, 06/08/2013
The following image conveys tall mountains spanning for large distances. The vegetation found in this landscape is dense in colour due to the shade provided by these towering mountains. The lighting in this landscape is broken into segments because of the large terrain and is also affected by the clouds that would form around these mountains.

wallfive3, http://wallfive.com/beautiful-mountain-landscapes.html, 06/08/2013
The image above is of a snowy terrain that has formed as a result of freezing temperatures. The terrain is flat and does not have any height to it and the vegetation found on this terrain is large in size because only large vegetation would be able to survive the nature of this particular landscape. The lighting is rather strong and unobstructed which can be seen from long distances and on the horizon.

Australia, http://www.australia.com/explore/states/vic/vic-snow-play.aspx, 06/08/2013
The image above conveys a harsh landscape that would only be found in a jungle environment. This terrain is made up of really dense vegetation providing very restricted access through it. The light in such environment is blocked and restricted by the dense vegetation so the sunlight cannot reach the jungle floor.

everydaybipolar, http://everydaybipolar.wordpress.com/2011/09/01/welcome-to-the-jungle/, 06/08/2013. 
This particular landscape shown above is made up of soft sand that often forms sand dunes that can often be shifted into flat planes due to the wind. The profile of this landscape is every changing. The nature of this landscape does not support for the growth of vegetation and only one type of vegetation can be found on such terrain and that is palm trees.  Clouds can hardly form in such a dry environment so the strong light generated by the sun dominates this environment

anthrocivitas, http://anthrocivitas.net/forum/showthread.php?t=11123, 06/08/2013

I decided to use the coastal beach landscape as reference to create my first island inside of cryengine. I began by generating my terrain and then adding the various materials such as sand, grass and rocks to add more detail to the scene. This scene surely requires much more detail but is a good foundation to begin creating my custom island for the first experiment.
Natural
Horizontal
Overwhelming

Dense
Distant
The next part of this week's tasks was to create another island based on another of the reference images that were gathered. Below is my desert terrain that I created using Geocontrol 2 and cryengine 3. I was really pleased with the outcome after becoming more familiar with cryengine and by watching tutorials.


The next part of this week's independent study was to create a custom texture using Photoshop. I decided to create a sand texture as I rely on this texture greatly in cryengine. I watched the tutorial by Helder and began making my own custom sand texture. 


Above is my custom sand texture that I created using Photoshop.

The last step for this week's tasks was to apply my created custom texture to my terrain that I created using cryengine. I was also really pleased with my created custom texture after I applied it to my terrain. The level of detail and quality of my texture really highlights the feel of the desert landscape. Below are a few close up screen captures of my terrain with my custom sand texture applied.


This week's lecture was mainly about the various types of artwork produced by different designers using different techniques and technology. I was really inspired by some of the work that was shown in this lecture and I particularly noticed how each of the artwork shown in this lecture was so detailed in expressing its purpose. This has inspired me to try and set a high standards for myself when adding detail to my environment. We were also introduced to GeoControl that enables one to generate various types of terrains to then be imported into cryengine. This program would be really useful in helping me start of with the first experiment.


Wednesday, 31 July 2013

Week 1

10 tips and tricks related to the Sandbox User Interface.

1.    By typing in the entity’s name in the search box located in the user interface of cryengine, a user is able to hide all other entities that are of a different name.
2.    A user can use the lock selection tool to isolate an entity and customise it without affecting other surrounding entities.
3.    The zoom speed can be adjusted to faster or slower levels by adjusting the speed values. A custom number can be inputted depending on the user’s preferences.   
4.    Terrain clipping when switched off can allow the user to cut through the terrain when navigating around the scene. When switched on the user can navigate their way through the scene without cutting through the terrain which could be a useful tool when creating animations and trailers.
5.    By switching on the AI Physics button inside of cryengine, a user is able to view the animation of each object in the scene without being in game as the player.
6.    The go to position feature can be used to move the camera to a certain position in the scene by inputting real world coordinates. A useful trick would be to copy the X, Y and Z coordinates of the camera and pasting them into the go to position box to return to that specific view.
7.    By double clicking in the console panel, a user can view a list of comments that they can alter. For example, the sound in the scene can be turned off using the console panel inside of cryengine. The console panel also shows the errors in the scene if there are any.
8.    The hide by category panel can be used to hide and unhide certain categories inside of cryengine such as brushes and solids to create for a better work flow especially when working on a complex and object rich scene.
9.    Solids and brushes can be exported from cryengine as .obj files which can then be imported into other 3D software packages such as 3ds Max or Maya to allow for design work to be carried out on the object.
1.  The ruler tool can be used to measure the distance between any two given objects in the scene.

5 ways you might customize your Sandbox editor setup.

1.    A user can drag and drop individual windows onto each other to group them into tabs for a cleaner user interface and can also attach the combined floating window to the viewport.
2.     Toolbars inside of cryengine can be turned on and off depending on the user’s preferences.
3.    A user can create custom toolbars that contain any type of commands that can be used inside of cryengine.
4.    A user can assign hot keys to each command inside of cryengine. For example, the M key can be assigned to the “move” command and every time the M key is pressed, the move command will become active.
5.    Custom macro scripts can be created and commands can be assigned to them. For example, a custom button to turn on or off sound can be created and added to the toolbar to turn on or off the sound in the scene which creates for a quicker workflow.

3 different ways of moving around your level.

1.    A user can fly through the scene using the controls on the keyboard.
2.    A user can navigate through the scene as the first person shooter and experience the scene by walking, running and swimming but also have the ability to interact with objects in the scene and experience the outcome of that interaction.
3.    A user can assign camera tag positions to different views in the scene. For example, if a user needs to return to a specific view, then can do so by enabling that specific camera tag associated with that view without having to fly around the scene to that view which can be a time consuming exercise.

5 shortcuts or buttons, and what each of their functions are.

1.    F3 button switches the shaded view to the wireframe view
2.    Ctrl+G switches to game
3.    By pressing M on the keyboard, a user can pull up the materials editor
4.    Ctrl+C clones an object
5. Shift+F1,2,3,4 etc With this function you can quickly jump to the predefined camera positions.

50 words reflect on this week’s lecture and make a unique observation regarding its content as it relates to your own work.


This week’s lecture has enabled me to gain a brief understanding in terms of what will be required from me for each project. In order to create successful projects, I would have to master the software packages used in this course and apply myself to being original and not being afraid to express my ideas and experiment with different solutions to add a unique feel to all my projects.