For this week's tasks we were required to do 3 sketches of our chosen house and show how the structural elements of the house will fail after a certain period of years and after being affected by natural disasters.
This is my first sketch of the rudin house. This sketch shows how the concrete walls have collapsed in certain areas thus revealing the timber frames, how the glass has cracked due to high winds and water and how also the metal elements have stained due to moisture.
This sketch is a close up of a window and wall. It shows the cracked internal gyprock revealing the timber frame and also shows the cracked flooring revealing the floor boards.
The above sketch is of the roof. It shows the structure underneath the cladding as well as how the concrete has cracked due to the weather conditions.
I then continued working on my rudin house model and continued adding details to it to show the state of decay after 100 years of no human existence. I took the model that we were given and retraced it by ensuring that I kept 4 sided polygon surfaces where ever I could so that the texture will apply more efficiently to the object. Some of the surfaces on the initial model did not join to other surfaces so I spent the time to ensure that my model contain cleans surfaces to make modelling the decay an easier and cleaner process.
This week's lecture was rather informative of how different structures look like once they have been abandoned. We were also made aware of the various tools and plugins that we have at our disposal when working on our buildings inside of 3ds max to create a realistic affect of the state of decay that our buildings will have faced after 100 years. All in all this week's lecture was informative and has enabled me to gain a better idea of the characteristics of an abandoned building.
For this week's tasks we were required to develop textures using Photoshop and apply them to our model in cryengine by exporting them using the crytif Photoshop plugin. Below I experimented with applying specular effects to a concrete texture which I then applied to my model.
Concrete texture without spec map
Concrete texture with spec map
We were then required to research the properties of 3 materials and the process involved in making each material, the life time of each, what conditions will corrode these materials, structural pros and cons and the main use of each of these materials. The 3 materials that I have chosen are concrete, glass and steel. Concrete How is concrete made: Concrete is made by mixing water, cement, stone and sand. The quantity of each of these materials added to the concrete mix is determined by the type of application. A concrete mix needed to serve air crafts will posses different properties to concrete serving cars. Life span of concrete: Concrete actually hardens as it ages thus having an outstanding life span of 30 years on average based on the climate and environment conditions that the concrete is serving under. What conditions will corrode concrete: Concrete degradation may have various causes. Concrete can be damaged by fire, aggregate expansion, sea water effects, bacterial corrosion, calcium leaching, physical damage and chemical damage (from carbonation, chlorides, sulphates and distilled water). Structural pros and cons of concrete: Concrete can be put under intense pressure and has excellent compression properties but does not preform as well when under tension and this is why concrete is usually reinforced with steel. Glass How is glass made: Glass is manufactured by melting sand, soda ash, dolomite and limestone together. Life span of glass: Glass lasts for decades and there is no exact life span associated with glass hence to why it is a primary material used in construction. However, the form of the object constructed using glass changes its form over many decades. Structural pros and cons of glass: Glass is very brittle and has limited structural adequacy in tension or compression unless it is reinforced using sealants or other form of aggregates or is tempered by heat. Steel How is steel made: Steel is iron that has most of the impurities removed. Life span of steel: There is no solid answer as to how long the life span of steel is because it is dependant on the environmental conditions that the steel is exposed to and the application that the steel is used in. What conditions will corrode steel: Steel rust because it is an alloy of iron and rust is basically an oxide of iron that is formed when iron reacts with oxygen gas in the presence of moisture or water. After a time of exposure to these conditions for some time, steel corrodes. Structural pros and cons of steel: Steel is excellent in tension and is the best chosen material when requiring materials to withstand tension but is weak in compression and this is why concrete that has strong compression properties is always combined with steel that has strong tension properties to create reinforced concrete. This week's lecture was excellent in providing examples of the common materials used when constructing a building such as steel and concrete and how each of these materials shares independent properties and characteristics that when combined can be capable of supporting a building. This week's lecture also showed a few examples of how each of these material look like once exposed to corrosion or damage over several years.
As part of the second experiment for this semester, we were required to install the required plugin to be able to export our model from 3ds max to cryengine. After following the tutorial I managed to export a sample model that I created using 3ds max to my cryengine scene which I created in the first experiment.
I then re-exported another model which I created inside of 3ds max to ensure that I had adequately learned the process involved to be able to export from 3ds max to cryengine.
The next part of this week's individual study was to talk about each of the three houses in terms of their materials, design and history.
The Barcelona pavilion was designed by Ludwig Mies van der Rohe. The design of this house is influenced by the l style of modernism. The main materials and structural elements that make up the Barcelona pavilion are steel frames with glass and polished stone. http://ad009cdnb.archdaily.net/wp-content/uploads/2011/02/1297020019-bcn-pavilion-gandolas-528x352.jpg
The house in Bordeaux was designed by Rem Koolhaas in 1998 in Bordeaux, France. The main concept behind the house in Bordeaux is laying three floors that are different in nature over each other to create a contrast between spaces. The main materials used are concrete, steel and glass which create and overall nice contrast between the materials throughout the house.
The Rudin House designed by Architects Jacques Herzog, Pierre de Meuron in 1996 is rather a standard looking house that is shaped using four main external walls with a gable roof and chimneys. This house almost blends in with the surrounding environment and context but includes a touch of modernism by using large openings in the shape of windows and doors. https://blogger.googleusercontent.com/img/b/R29vZ2xl/AVvXsEj_wONFWEsgJrOgDxwfgneV7ed7WVqMUk4OvBmY9GFCEpHbupLjvL1O4phrzHRwtWimI0Y4pIrKBfGkggx6klDB0az6DTY2eRumG7WNOptEklgmT1Aw_hM3ifbOTbDuQM-p_wu4X6TwZC0/s1600/rudin+house.jpg
This week's lecture was an introduction to experiment two which is about life after people. This lecture also included a few examples of structures that have been abandoned by humans for many years which showed how the different materials and structural elements in each of those buildings behaved over that particular period since they were abandoned by humans.
This first experiment in the BENV 2423 subject required me to improve my cryengine skills greatly and also required me to be unique in my approach towards the tasks in this experiment. I began this experiment by establishing what I wanted to achieve by the submission date and allowed myself to experiment with untested ideas rather than the common ideas as a way to differentiate my work and conceal it with a touch of uniqueness.
Strategy Statement
The strategy statement was put in place to help establish how I was going to conceal my letter and number combination from macro to micro throughout my island. My strategy statement can be found here.
5 Draft Images of Island
Draft images of my island can be found here and here.
Video Trailer
As part of the final submission for this experiment we had to create a video trailer to promote our island. I always wanted to associate the feeling of mystery and suspense in this project and this is heavily portrayed throughout my video trailer through the use of background music and video effects without needing to use text to portray the mood conveyed in my video trailer.
My developed Island
Below are a few screen captures of my final developed island.
Files to play test Cryengine 3 Environment
The files needed to play my Cryengine environment can be found here.
As part of this week's tasks, we had to review the work of our fellow students. I have attached screen captures of the students that I reviewed.
This week's lecture was about movement which conveyed examples of movements which have inspired me to try and incorporate some of the features in those examples shown within my cryengine scene. The lecture was also helpful in showing how to work with flow graphs to achieve our strategy plan.
As part of our experiment 1 submission, we were required to put together a draft of the outcomes for this first experiment. Strategy Statement:
The challenge with this
brief is not how hard it is to conceal the letter and number which in my case
is a combination of “H9” but the challenge is to actually stay creative and
explore unique ways to incorporate the letter and number into the created
environment to create a satisfactory experience for the user and allow them to
be challenged into finding the 5 various scales of this letter / number
combination throughout the island. I will try and use various techniques,
elements and effects on various scales to ensure that I best conceal my letter
and number combination and ensuring that I adhere to a unique approach.
5 Images of Cryengine environment:
This image above shows the whole island.
Macro - The
largest combination of letter and number that I incorporated into my island is
quite unique in my personal opinion. My idea behind this combination is
incorporating a sand island within my main island that disappears during the
night as the water level rises and reappears during the early hours of the
morning and throughout the day revealing an imprint in the sand conveying the
letter and number “H9” as the water level drops
My second combination is made up of fallen tree logs that lay
on top of each other forming the letter “H” in a natural way and 9 big rocks
that are placed randomly near the fallen logs. Upon looking at this combination
from a distance, once can only identify this combination as natural elements
that have formed over a given period of time blocking a path but upon close
interaction and focus one can then identity this combination involved that
convey the letter “H” and number “9”.
With my third combination I tried to seek a different
approach to concealing my letter and number combination. I highlighted a
specific section within my island and linked it to a sound file that would play
and say “H9” every time the player is within that specific area. I believe that
the use of sound to conceal these elements is rather unique.
My fourth concealment of the letter and number combination
allowed me to use a decal to convey the letter “H” as white paint on an old
demolished building and represented the number “9” buy placing 9 lamps randomly
around the same area to illuminate light for the letter “H”.
Micro - this is a plinth located on the island that displays the letter "H" and the numbers 4,3,1,1 which equal to "9" when added together.
My final step for this experiment is to keep adding details to my environment and ensure that I thoroughly cover the assessment outputs. I must also develop a trailer that would successfully convey my island in a distinctive and significant way as part of my final submission.
This week's lecture was really useful in presenting excellent examples of the concealment of subliminal messages and products within ads, movies and other means of representation. The content in this week's lecture have inspired me to ensure that I maintain a unique approach when concealing my letter and number combination.
The first step of this week's tasks is to select and upload an image from week 4 lecture to my blog. I decided to choose a painting done by Gerhard Richter.
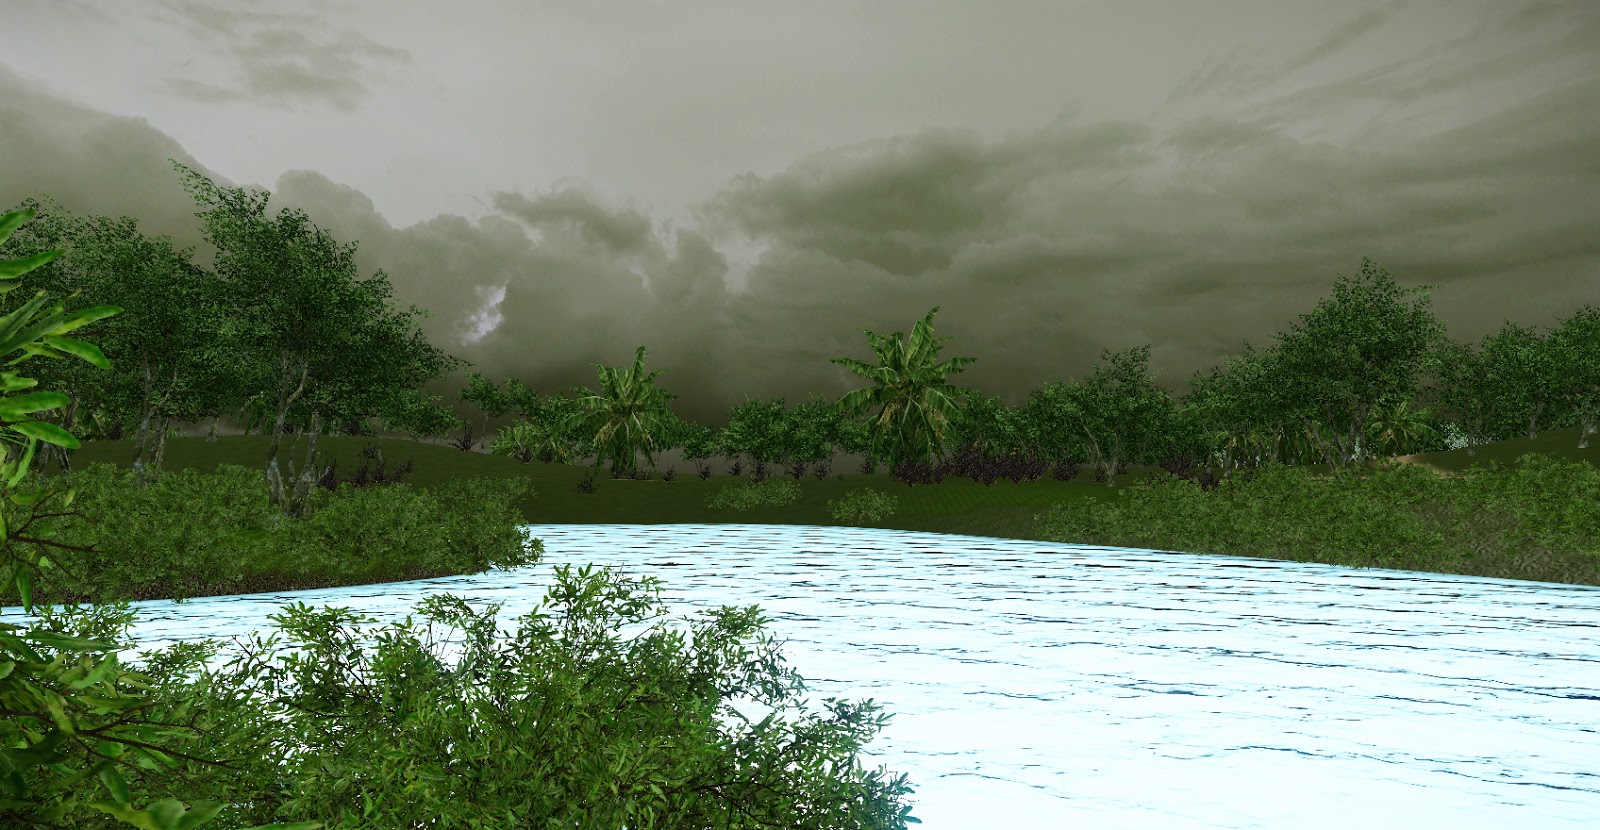
The next part was to replicate the mood in the chosen image on my own created island. I unfortunately was not able to start my island in cryengine so opted to creating a new island for this week's exercises. My results can be seen below.
Before
After
My screenshot of my current settings.
Time of day settings
Cloudy Sky
Settings for image above
Blue sky with some clouds
Settings for image above
Late afternoon cloudy day
Add caption
Settings for image above
Evening sky
Settings for image above
This week's lecture contained examples of environments both man made and those developed naturally over centuries. I believe that the main focus of this week's lecture was to actually inspire us to use reference images of naturally developed landscapes as inspiration to use in our own environment rather than using man made landscapes such as the palm island located in Dubai as our reference. I was also inspired by some of the works that various artists have produced.